Tuesday, October 22, 2013

Winding down

The weather has definitely gotten colder. There hasn't yet been a freeze but we've been pretty close. In the meantime there has been very little observable growth of what remains of the three hop plants. They are at least still predominantly green, so I'm hoping that they are building up reserves in their rhizomes for spring. Here's the Columbus:


You'll notice that I've pruned the dead stuff, making what's left easier to see. It does make them look kind of bare and scraggly. If you look closely you can see some newer growth, as evidenced by the slightly lighter colour of the leaves (they're smaller too).

Here's the Cascade:


There's obviously a lot less of this, although there is some evidence of the new growth (lighter green colour towards the back) still struggling on. At least it doesn't seem to be getting worse.

The Willamette on the other hand:


Nearly all the greenery you can see here is from other plants, the catnip in the background in the pot and tomato plants that sprouted from our compost. You should just be able to see a couple of old looking leaves towards the top. Other than that there are almost no leaves over the rest of the plant. I will keep my fingers crossed for it but I don't have high hopes for its reappearance come spring. At least it hasn't given up completely.

On a much brighter note, I can report the outcome of using my hops in my own beer:


You of course can't tell just by looking that it was made using home grown hops. As a recap, this was made using the Austin Homebrew Kalamazoo IPA all-grain recipe and adding my own hops. The other thing you can't tell from the photo is the fantastic aroma and taste. The fresh hops have definitely lifted the original significantly. If you haven't tried growing your own hops to add to your own beer I can't recommend it more highly. What's the worst that could happen?

Friday, October 4, 2013

And now back to your regularly programmed schedule...

There are some signs of life in the hop plants still. It's October now but we're having some warm weather of late which I hope is helping. Remains to be seen how much longer they will last before dying off for the winter. The Columbus is looking the healthiest at the moment:


There is some evidence of new growth but it certainly is not vigorous:


Despite the damage done to the roots while I was transplanting it, the Columbus seem like the most likely to survive to sprout again in spring. Will just have to wait and see. I'm also not sure when I should expect the growing parts that are left to start dying off for winter. This would suggest that the first freeze will finish them off. That seems like a long way off with the unusual warmth we're having right now. These things can change quickly though.

The Cascade (with requisite lounging cat in the background) looks like it is still hanging on:


Some evidence of new growth that does not seem to be in much of a hurry:


The Willamette is looking very thin indeed:


Most of the greenery you can see in this picture is from the other plants. The pot at the back has catnip (thus the lounging cat) which is doing very well. The only sign of new growth I could find was this:


Hardly cause for celebration. Of the three plants, I am most worried about whether the Willamette will make a reappearance come spring. Depending on how growth looks for them between now and the first freeze, I may well get another rhizome or two next year to try and ensure that I have some new growth.

Wednesday, September 25, 2013

Brewing pt2

In this particular case I'm using a recipe kit from Austin Homebrew, their Kalamazoo IPA. This kits comes with pelleted Centennial hops which I will be using along with my own hops. The vast majority of the hops I have harvested are Columbus, which are normally used as a bittering hop as they have a high alpha acid content. However, it is unlikely that my own homegrown hops will have achieved such high levels of alpha acid, especially in their first year. I'm also not going to spring for a lab analysis. For these reasons I've decided to split them up, half (about half a pound, wet weight) going in at the start of the boil (as bittering hops would) and the other half going in 15 minutes before the end of the hour (along with the meagre offerings from the other two hops) to contribute to the flavour. Here's the first lot going in:


I poured them in straight from the freezer. This is what they looked like after a couple of minutes:
 
The smell at this point is amazing. I always enjoy brew day for the way it makes the house smell but using fresh wet hops always makes it that much more so. As I said earlier, I added the rest of the hops towards the end of the boil. All three Willamette cones (bless their hearts):


As well as 2oz of Cascade:


And the rest of the Columbus:


At this point the smell in the whole house is incredible, as long as you like hops as much as everyone in this house does. Once the boil is done it's time to cool the wort as quickly as possible. In our previous house I had done this by immersing it in the sink full of water with frozen cool packs and ice. As you can see in the photo below this isn't possible in our new place:


This is actually my first time using a cooling coil (also from Austin Homebrew). I should probably make it clear that I'm not affiliated with them in any way other than being a happy customer. Previously, wort cooling had taken up to 30 minutes. This coil brought it down to less than 15. I have read elsewhere that the quicker you can cool your wort the less haze you will get in the final beer, which is, unsurprisingly, referred to as chill haze. Everything I've read about it says that it doesn't affect the flavour of the beer so I hadn't worried about it much. We will see if this beer ends up with less in the way haze once bottled.
Once the wort has cooled and the gravity measured, the yeast starter culture is added. With the lid attached and air lock in place, the whole thing is placed in the basement to ferment:
 
The basement stays at a pretty constant 70 degrees Fahrenheit (21 degrees Celsius) and I was rewarded the next day with plenty of activity in the airlock. I have high hopes for this beer. I once previously made a beer with fresh hops I bought from my local homebrew shop in Houston (DeFalco's). It was easily the best beer I had made up to that point. If you have never tried using fresh hops please do yourself a favour and try it soon.

Brewing pt1

As I mentioned earlier, I thought I would take you through my brew day when it came time to use the hops I've harvested. I'm sure there are many and better homebrewing blogs out there but I thought I should see the whole process through, from planting a rhizome to making the brew. As a consequence I'm not going to be extra careful to include every single little detail but I'm open to questions. I've also discovered the length limits for a blog post, so I've had to split it into two parts. If you're only interested in seeing pics of fresh hops being dumped into boiling wort skip straight to part 2.

My brew day starts with setting up a starter culture for the yeast. I use a procedure for recovering yeast from previous brews, which can be found here. First thing involves preparing the actual media. I use honey (about 1cm deep at the bottom of a pint glass) and yeast nutrient. To this I add boiling water (to discourage other things from growing in it) and cover with foil. I also add a small magnet and put it on top of a magnetic stir plate:


This helps to mix the ingredients to start with but also helps with yeast growth once it has cooled enough for them to be added. Adding the yeast is done by pouring off the liquid above the cells and pouring in the prepared starter media, then back again and repeat until all of the yeast have been transferred into the pint glass. This is what the collected yeast look like before they're removed from the fridge:


Next step is to collect the water I'm going to use. I have discovered the hard way that the water used for mashing is very important. The first time I tried to do a partial mash, I got no conversion of starch to sugar and only succeeded in making porridge (didn't improve the flavour of the beer). After a little reading I discovered that the enzymes responsible for this conversion will not work above pH 6 and the water coming out of my tap was well over pH 7. When I found this out I immediately tried the water from our Brita filter which turned out to be below pH 6. As a consequence, all of the water I use for mashing and lautering goes through the filter:


I've relatively recently graduated to all grain brewing, which means that I have to collect a fair bit before starting. Once I've collected the volume I need for mashing it goes in straight in my largest pot to heat it to mash temperature:


The other two pots are for the water I'll use for lautering (what I always think of as washing the grain to get as much of the sugar out as possible). I was inspired to switch to all grain when I saw my neighbour throwing out this cooler:


It may not be pretty but it's clean on the inside and I've been able to fit it out with a false bottom and new plumbing (all from Austin Homebrew):


After mashing for at least an hour it's time to collect the sugary goodness inside (or wort as it's technically called):


You may or may not be able to see my bodged together setup for capturing some of the grain husks that try and sneak their way into the wort. These will apparently give the beer a somewhat astringent flavour if left in the wort during the boil, which is started once enough has been collected:


As I don't have a 10 gallon boil pot I am restricted to having to boil two pots. I suspect a pot big enough for the job would be too big for our cooker to actually boil which would then mean having to brew outside with a propane burner (I much prefer brewing in the kitchen, especially when it's not very nice outside). The one on the right is filled first, with the rest draining into the one on the left. While both of them are boiled for an hour, all of the hops will be added to the one on the right with the other one being used to top up the final fermenting volume to just over 5 gallons.

Monday, September 9, 2013

Signs of recovery

I said I would provide an update if I saw any signs of recovery. Here's what the whole sorry affair looks like right now:


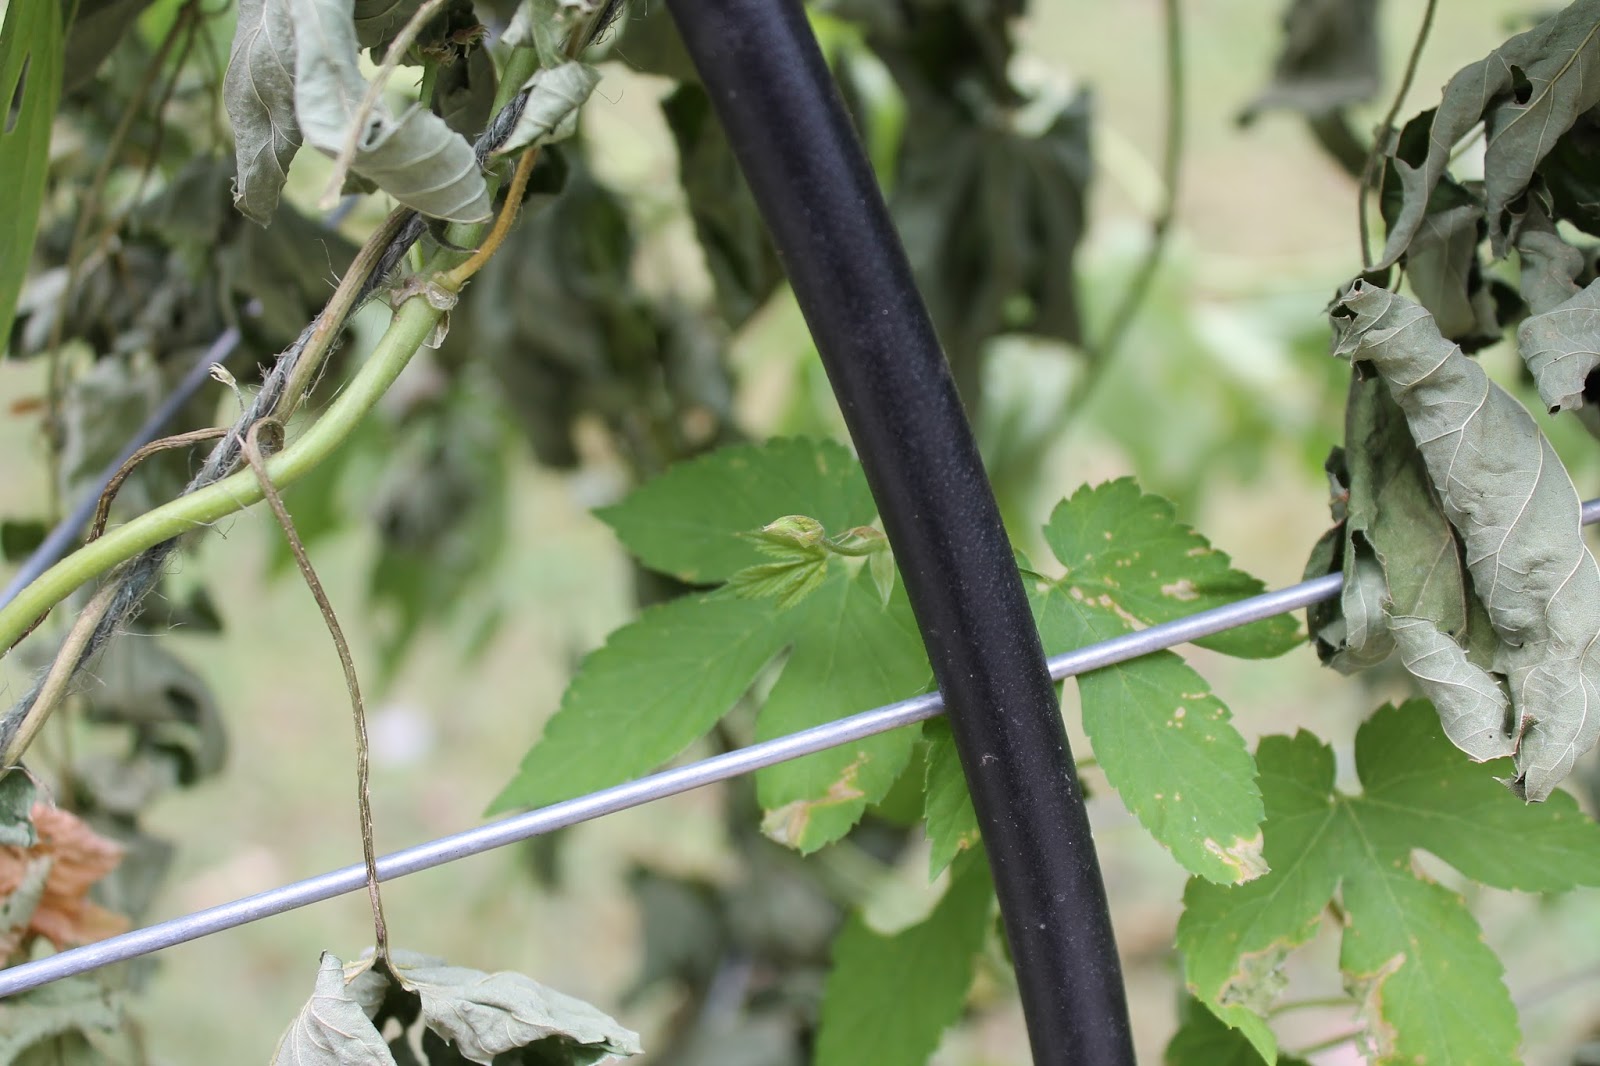
Despite the catastrophic die-off, there are definite signs of life. The Columbus (closest to the camera) definitely has some green leaves left. The contrast between the dry and dead leaves with those still alive is pretty striking. Next along is the Cascade, also with some signs of life lower down. It's harder to see with the Willamette at the end but there are some leaves still maintaining their form. All three also have at least one small shoot that I'm going to tell myself is new growth. Others may disagree. This is the Columbus:


Growing buds like this are nearly always the first to die when the plant suffers severe damage, so I have high hopes here.

Here's the Cascade:


If you look very closely you can see a small bud beginning to emerge to the left of the main stalk.

The Willamette also looks like it might have some new growth:


The main stalk to the right looks to have two new shoots, which are of course slightly out of focus. This picture also shows how some of these leaves are only just (but bravely) hanging on, having been eaten by bugs and also discoloured.

Overall I'm quietly confident now that they're not going to completely die off. The biggest concern I have now is whether they will be able to recover enough, before the cold weather appears, so that they can survive the winter and appear again in the spring. Fingers crossed as usual.

Saturday, September 7, 2013

The big move.

So the time for the big move finally arrived. Transplanting hops is not something I have tried before but I figured that I don't have much to lose and if they do indeed survive the move I won't have to start from scratch again next year. I had previously shown you my new raised bed for them to move into. This is the last pic I took before removing them:


It was of course at this point that I discovered some cones I had missed at harvest time:


Just to be as careful as possible I decided to excavate them by hand. I also thought I would start with the Willamette, partly because it had been the least productive in terms of above ground growth but also because I was hoping that this would mean that there was much more root growth and thus would be more forgiving while I tried to find the best way of doing this. Here's what its exposed roots looked like:


You should be able to make out the original rhizome that I planted in the middle. The roots that had grown since were very rubbery and floppy. I'm not entirely sure if this is natural or because they were a little dry. I also found out pretty quickly that, although rubbery, when I tried pulling at the end to break them off where they were growing through the raised bed the rubbery part easily separated from an inner fibrous core. I'm pretty sure this is not very good for them. With the benefit of hindsight, using secateurs or some other cutting implement would have been better. 
 
As the Willamette and Cascade are entwined around the same shepherd's hook I thought I should move them together. Here you can see the difference between the two root systems. The Cascade on the left has much finer branching of its roots:
 
 
The fine nature of the branching of these roots meant there was a lot more tearing as I tried to excavate them. After a lot of the gentlest teasing out of the roots I could manage this was the result:


To minimise the amount of time out of soil I moved them immediately, rather than removing the Columbus and moving everything at once. The new place is only just down the road after all. Here's what they looked like once in the new raised bed:


I repeated the procedure with the Columbus as best I could:


Unfortunately, these roots were not nearly as cooperative as the others and there was some tearing at the point where the roots met the above ground stems:


Not a great start. This is what they all looked like once I'd finished the move and given them a thorough soaking:


So far so good, you might think. The more botanically minded will probably have guessed already what's coming. The very next morning, this is what I found:


Very sad looking hop plants. Nearly all of the leaves have shrivelled up and died and become brittle. This process continued for a couple of days:


This really doesn't look good for future hop growth from these plants. You might be able to see that I have wound a soaker hose around the raised bed, so instead of using a spray to water them I have been leaving water running through it for several hours a day. There is some small reason for optimism though. This is what the back of the Columbus looks like:


The Cascade:


And the Willamette:


As I hope you can see there are still some leaves that are not yet shrivelled up. I am hopeful that they can all recover from here. When or if I see any new growth I will be sure to document it. On the plus side I found this sprouting out of our compost:


Perhaps this will have to become a tomato growing blog next year.

Thursday, August 22, 2013

Harvest time

I have decided to harvest the cones I have so far. Partly because I am concerned that the plants may not appreciate being transplanted from one place to another (and this might affect the cones) but also because they seemed to fit this description of readiness. Certainly the lupulin was quite obvious as yellow grains inside the cone and also had quite a strong smell of hops when pressed.

While picking I noticed some more of the fronds that I had mentioned before:


This would appear to suggest that these fronds may go on to become more cones. If this is true (and the plants happily survive being moved) then I may get a second harvest (I can always dream). This is all new to me as I saw none of this last year in Houston. I should also point out that I only saw these on the Columbus. It's difficult to know whether this is because it is a different strain to the other two or because it was just more successful at growing in my garden. I have my fingers crossed for a second harvest though. Speaking of harvest:


The larger bowl contains my haul from the Columbus, the smaller bowl from the Cascade and the three at the front represent all I found on the Willamette. Quite a contrast to last year when the Willamette was my strongest grower. They have all been put into storage bags and put in the freezer:


It seems that the standard recommendation is to dry hops prior to freezing. I am forgoing this, partly because it sounds like too much work, but also because I have no plans to transport them or even keep them for very long. The next time they leave the freezer will be so that they can be unceremoniously dumped into boiling wort. My intention with this blog has always been that it would not become a brewing blog (as there are more than enough of those out there and probably far superior to what I could muster). Having said that, I'm thinking I should make an exception for my first brew made with my own hops, just so I can trace the whole process from putting a rhizome in a raised bed to brewing the beer. I may even post about how the beer turns out in the end.

Harvesting cones also serves as a way of giving your hops a good inspection. All three plants looked to be in great overall health despite some obvious signs being eaten by bugs. I also found this:


These look a lot like insect eggs of some sort, very neatly arranged on a leaf. I'm not enough of an entomologist to know what these are but they were removed and left far from my hops.

All told I'm pretty happy with my harvest from these first year hop growths. Hopefully next year will bring even greater hop bounty. This will depend a great deal on how well the transplant goes. More on that next time.